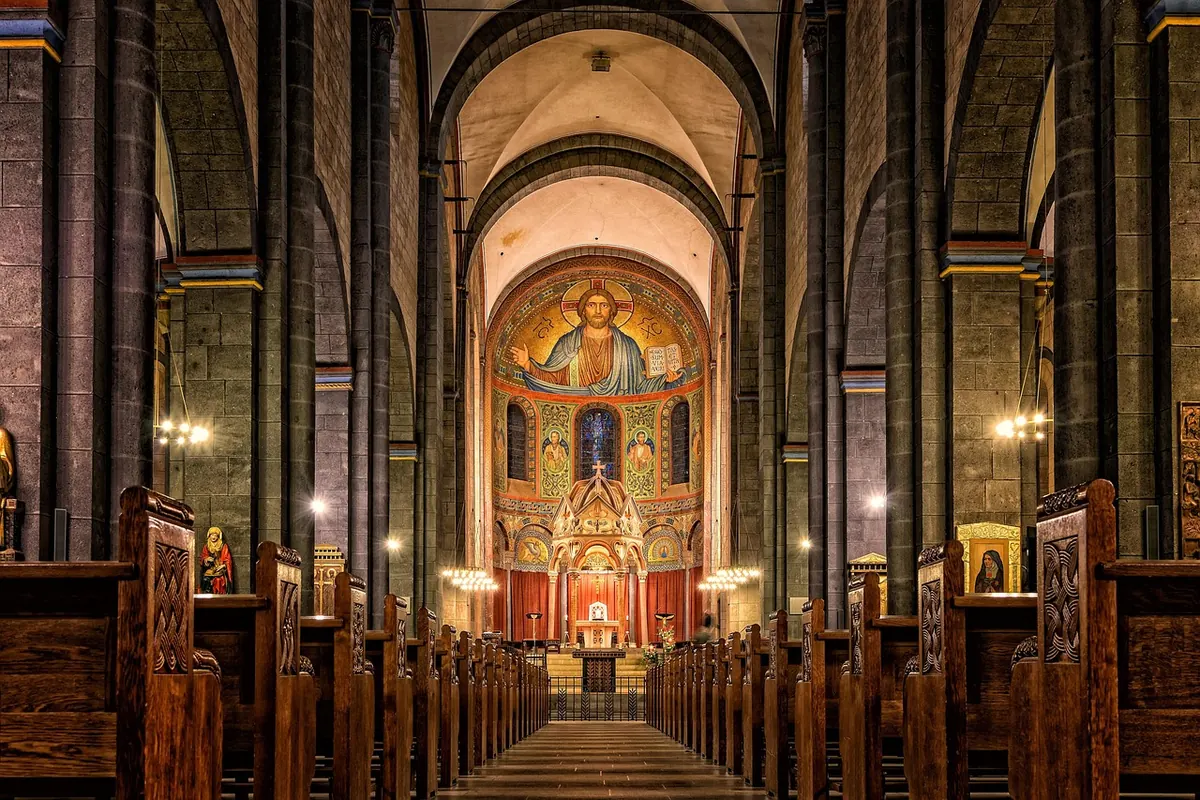
Country churches are generous with frescoes and stingy with light. A single lancet window, a lime-plastered wall, and a fifteenth-century saint who has been fading quietly into the plaster for six hundred years: that is the situation you will meet again and again in the Italian countryside, and it defeats more cameras than any cathedral ever will. The pictures you want — flat, faithful, legible — are not hard to make. They depend on a handful of decisions taken before you press the shutter, in roughly the order below.
Start outside. Most rural churches post their mass times by the door; if a service is due in twenty minutes, come back another day. Photography during a liturgy is disruptive and, in most places, unwelcome.
If a sacristan, caretaker, or parish priest is around, say hello and explain what you are doing. Permission is rarely refused when asked plainly, and it often comes with something better than permission: the key to a side chapel, the information that the nave fresco was restored in the eighties, or a warning that the floor is uneven near the third pillar. A small contribution to the restoration box is a decent habit. Where a tripod is forbidden, it is usually forbidden for good reasons of space and safety rather than fussiness, so have a fallback ready.
Inside, keep your voice low, do not move furniture, do not lean on the painted walls, and never touch a surface to check whether it is dry. Turn the flash off before you go in, not after the first frame.
You do not need much, but each item below solves a specific problem you will meet in a cold nave with one window.
Work in manual. Automatic exposure will chase the bright window and leave you with a beautifully metered silhouette.
Set ISO 100 or 200, aperture around f/8, and let the shutter run as long as it needs — two seconds, six, ten. Then use the two-second self-timer or a remote release. If the camera has stabilisation, switch it off when it is sitting still; the system can hunt for movement that is not there.
Raise the ISO to 1600 or 3200, open the lens to f/2.8 or f/4, and accept a slightly softer file. Brace yourself against a pillar, breathe out, shoot in short bursts of three and keep the sharpest. A noisy photograph of the whole fresco beats a clean photograph of your own shoulder.
Either way, bracket. Three frames at one stop apart will rescue the corner where the window glare sits on the plaster and the corner where the vault goes almost black. Focus manually on the live-view screen at full magnification, placed on a face or an inscription rather than the middle of an empty field of colour.
The single most useful habit: keep the back of the camera parallel to the painted surface. If you tilt up to include the top of the fresco, the whole thing tapers inward and you will spend the evening correcting it in software, losing edges to the crop.
Use the in-camera level, or the grid overlay, and step back. A longer lens from further away gives you a flatter, truer record than a wide lens pressed into a corner. Fill the frame edge to edge with the painted field, leaving a sliver of unpainted plaster as a border so the boundary is legible. Then take one deliberately wider frame showing the whole chapel, so a viewer understands where the painting lives.
Mixed light is the quiet enemy here. Window light runs cool and blue, a single bulb runs warm, old fluorescent tubes run green, and automatic white balance will drift between frames until the set looks like it came from three different buildings.
Set a custom white balance from the grey card held in the same light as the wall, then leave it alone for the whole sequence. If you have no card, a sheet of white paper works well enough. Judge nothing on the camera screen — it flatters and it lies. Check the files later on a calibrated display, and resist the urge to make the fresco more saturated than it is. Faded is the truth of the object.
Do not clean up the image in your head while you shoot. The crack, the lost patch of pigment, the ghost of an earlier design showing through — these are the fresco, not defects in your photograph.
Once the full view is safely in the bag, spend ten minutes on details: a hand, an eye, a border pattern, a scrap of surviving inscription. Pack a detail of a face next to the whole wall and the picture starts to teach something. Watch for flare when a window sits opposite the lens; shift a step sideways, or shade the front of the lens with your hand, kept out of frame.
Run through this before you leave the building. It takes two minutes and saves the trip.
Do this a dozen times and the routine becomes invisible. You will walk in, read the light, set the camera, and spend your remaining attention where it belongs: on the wall, and on the people who painted it.
Photo: Tama66 / Pixabay